Moss on a roof isn't just an eyesore. It holds moisture directly against your tiles, which accelerates freeze-thaw cracking in winter and quietly degrades the roof surface year after year. It also sheds, into your gutters, down your walls, onto the drive. Left alone it only goes one way.
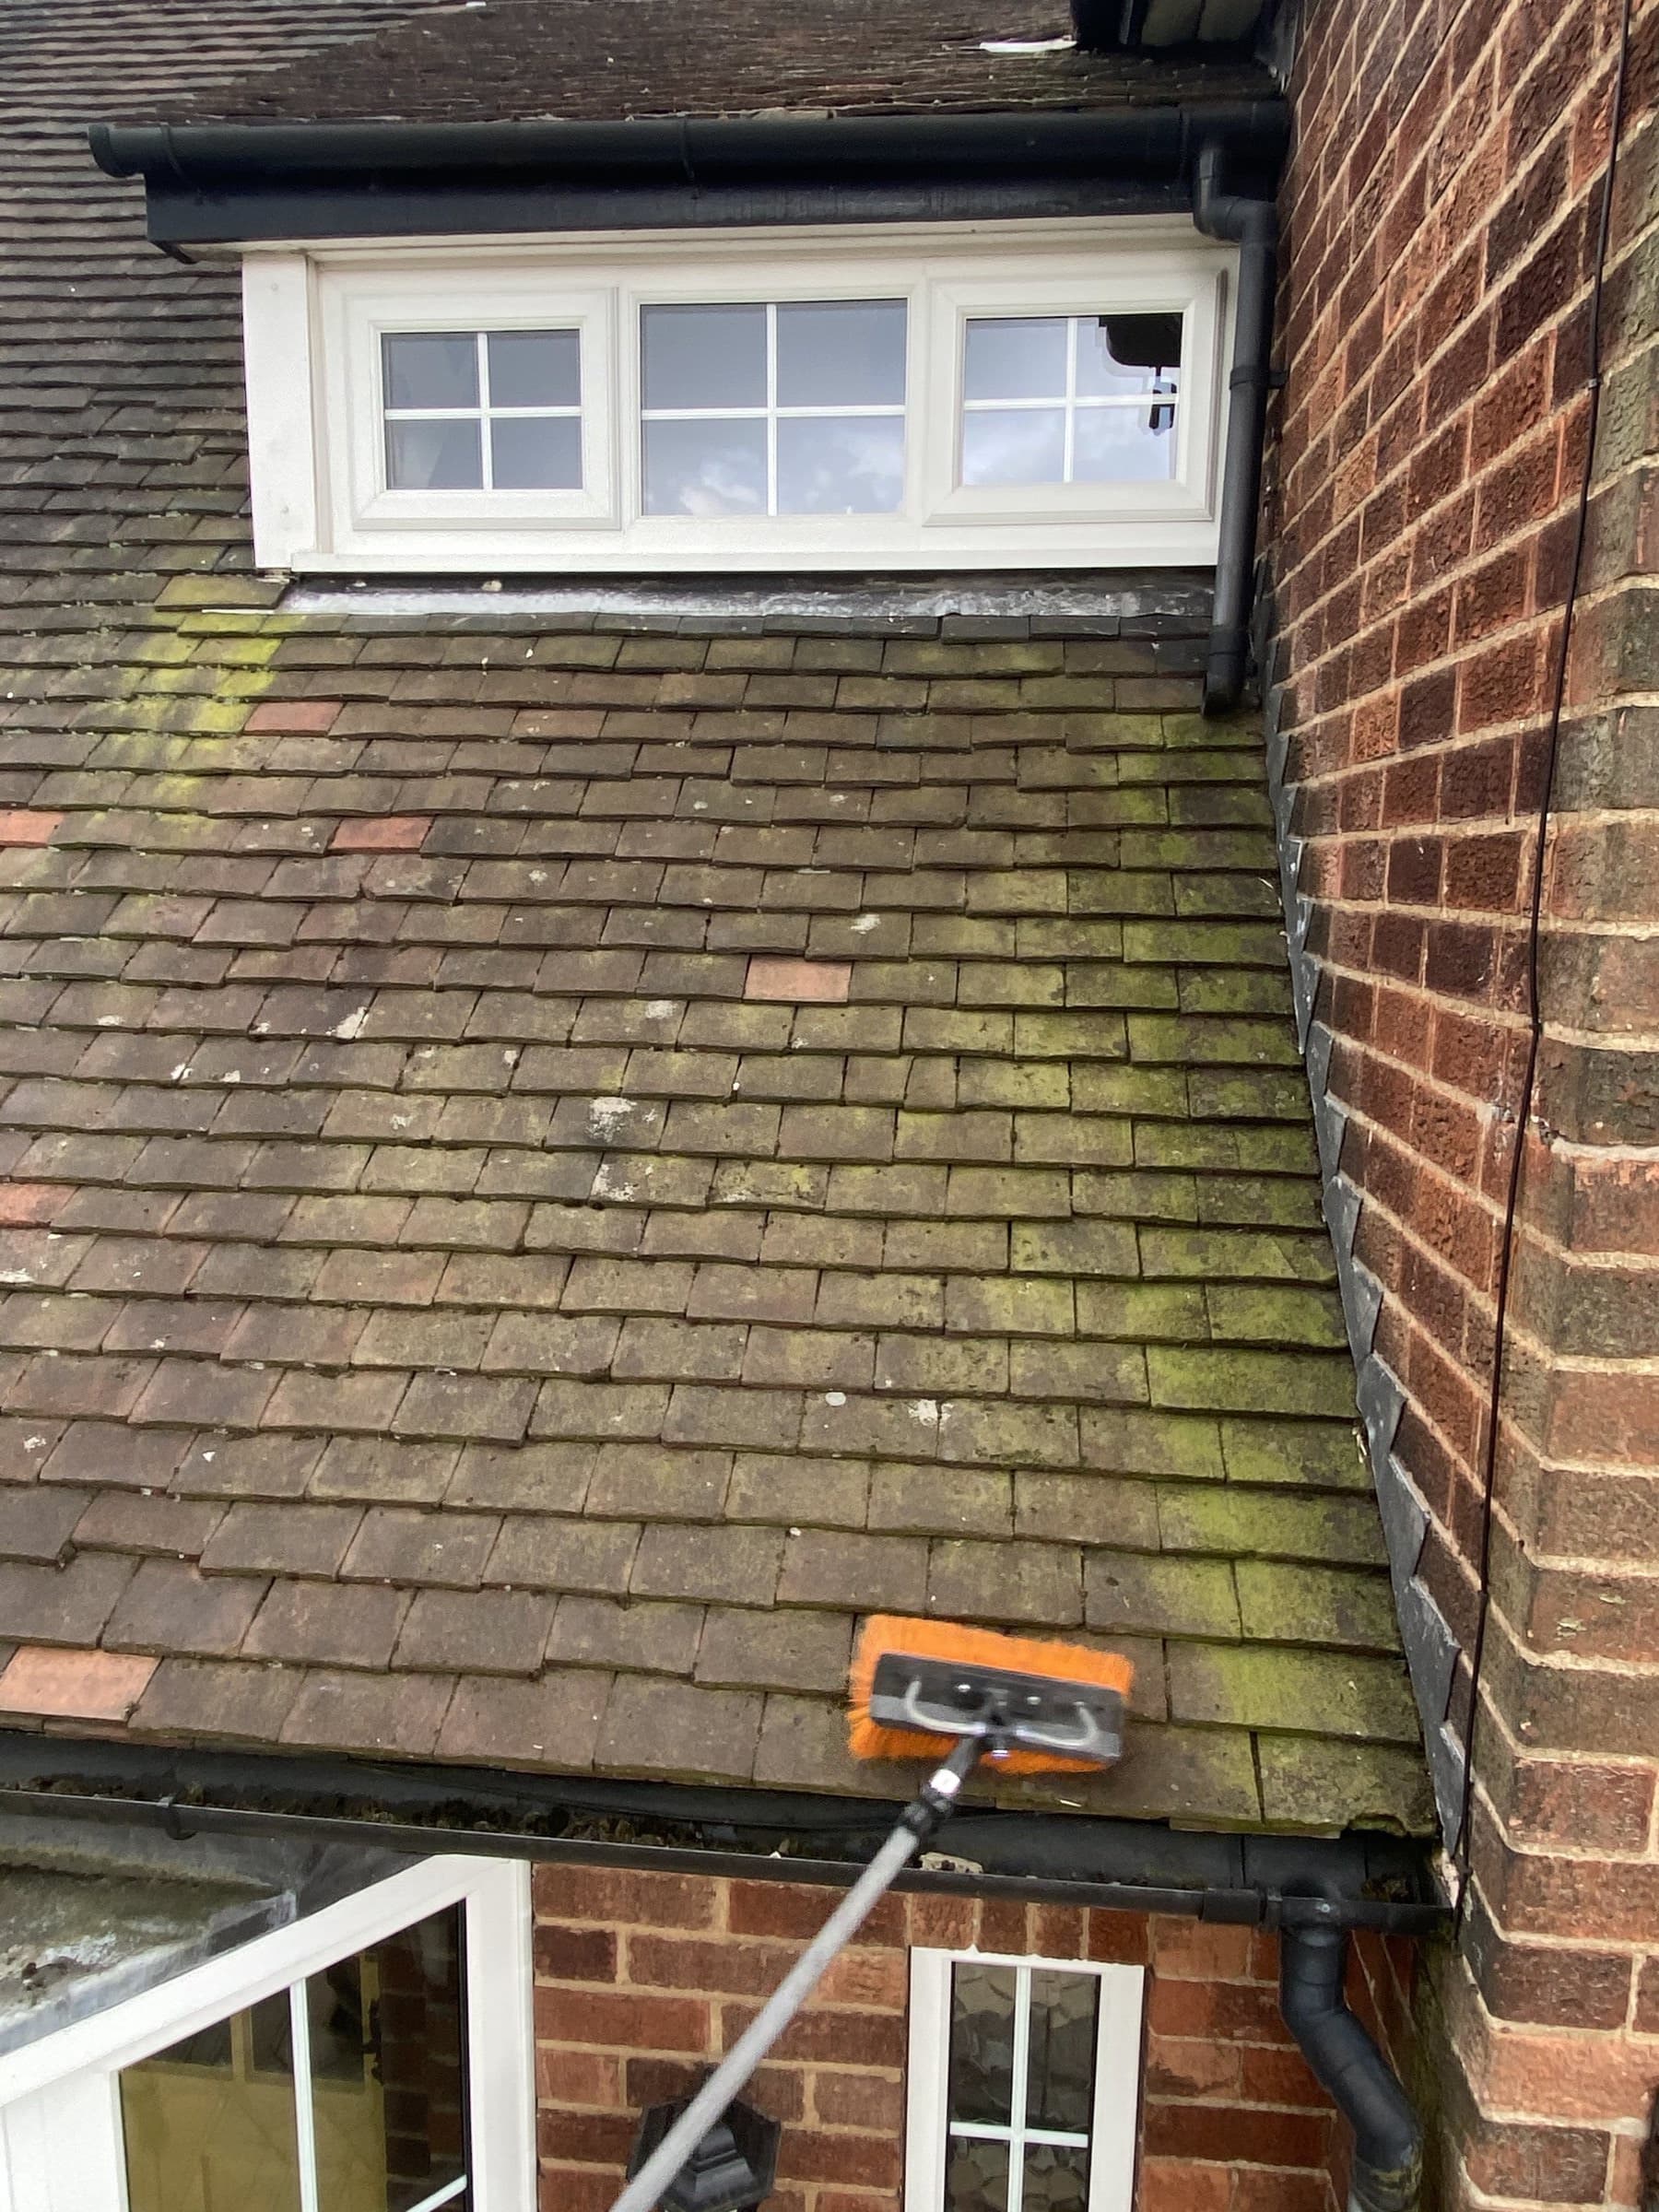
How we do it
Inspect the roof first
Before anything else we look at what we're dealing with: tile type and condition, how heavy the moss is, and how to reach it safely. If a roof has a problem that cleaning won't fix, you hear that first, not after.
Set up safe access
Scaffold or carbon-fibre poles, depending on the property. What we don't do is walk on your tiles or blast the roof with a pressure washer, both cause the kind of damage this job is supposed to prevent.
Scrape the moss off
The bulk of the moss comes off by hand-scraping, tile by tile. Slow, but it's the method that doesn't strip the surface of the tile with it.
Brush the roof down
After scraping, the whole surface gets brushed down so the loose debris is off the roof, not waiting for the next storm to redistribute it.
Protect the garden before treatment
Plants under the roofline get pre-soaked with clean water and the downpipes get bagged, so nothing running off the roof ends up where it shouldn't.
Apply the bio treatment
The biocide goes on evenly, at the correct dilution and temperature, both matter, and it's where corner-cutting shows. The treatment keeps working over the following months, killing the spores the scrape can't reach and slowing regrowth right down.
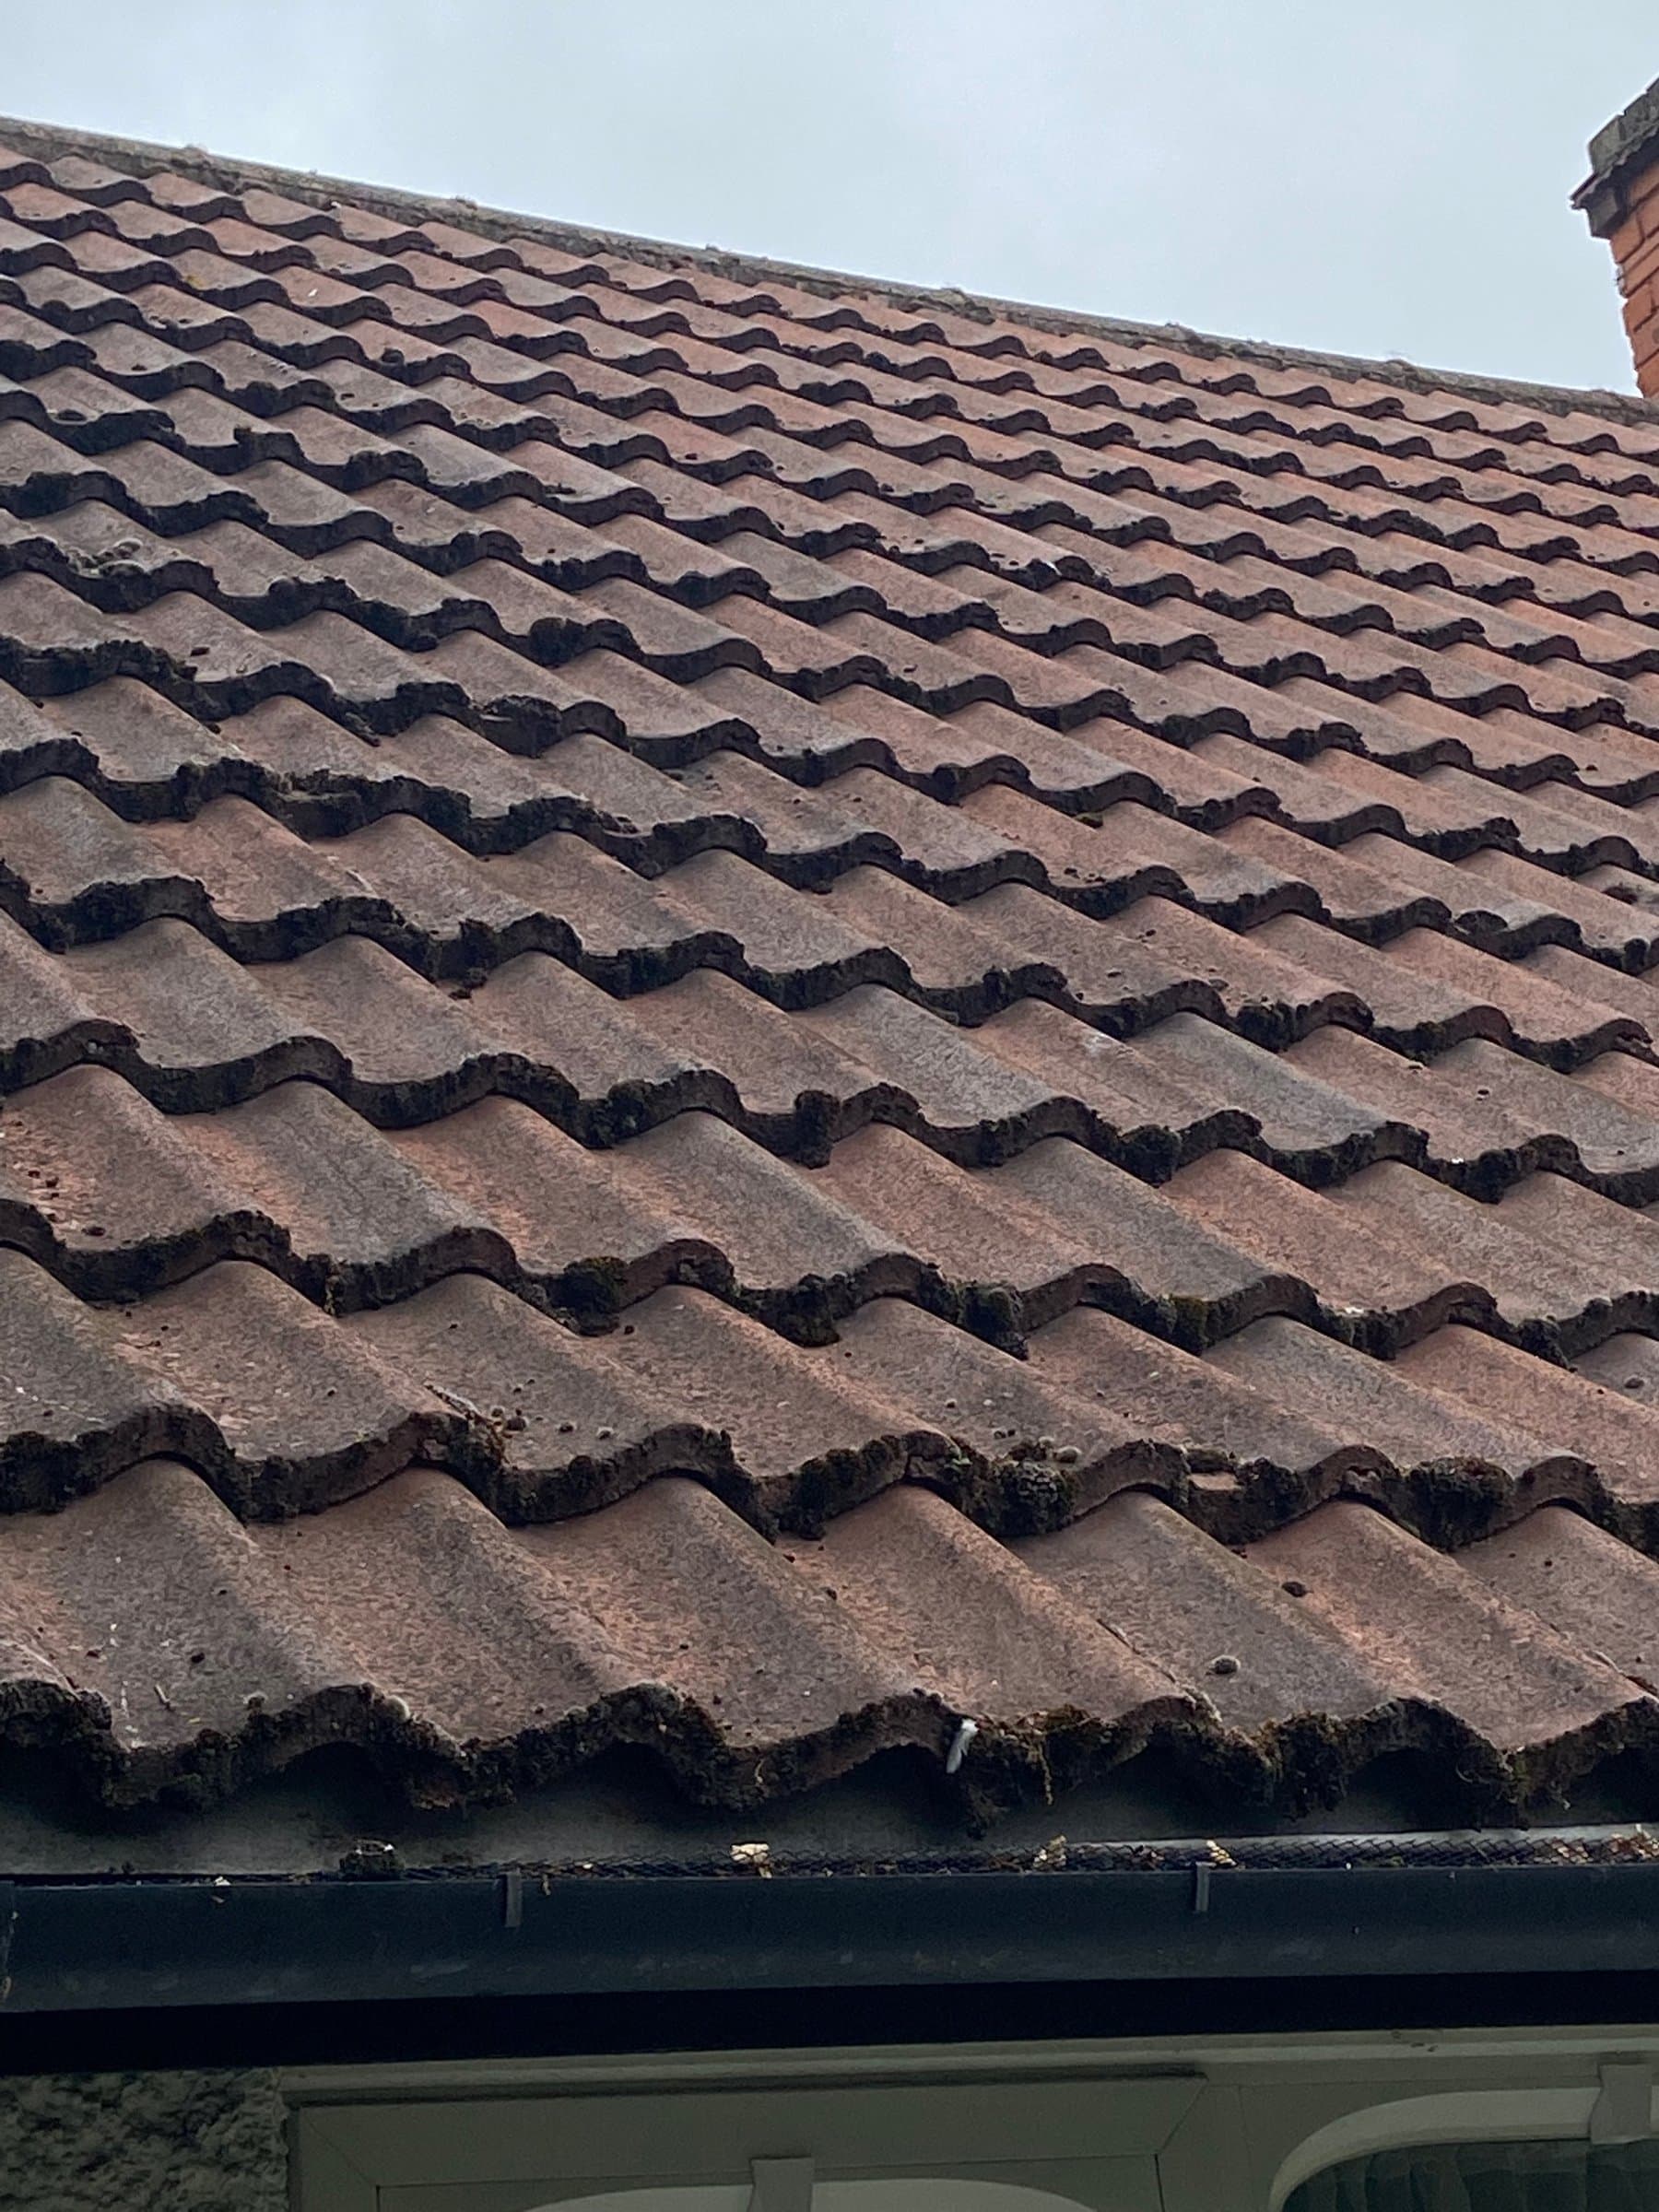 Before
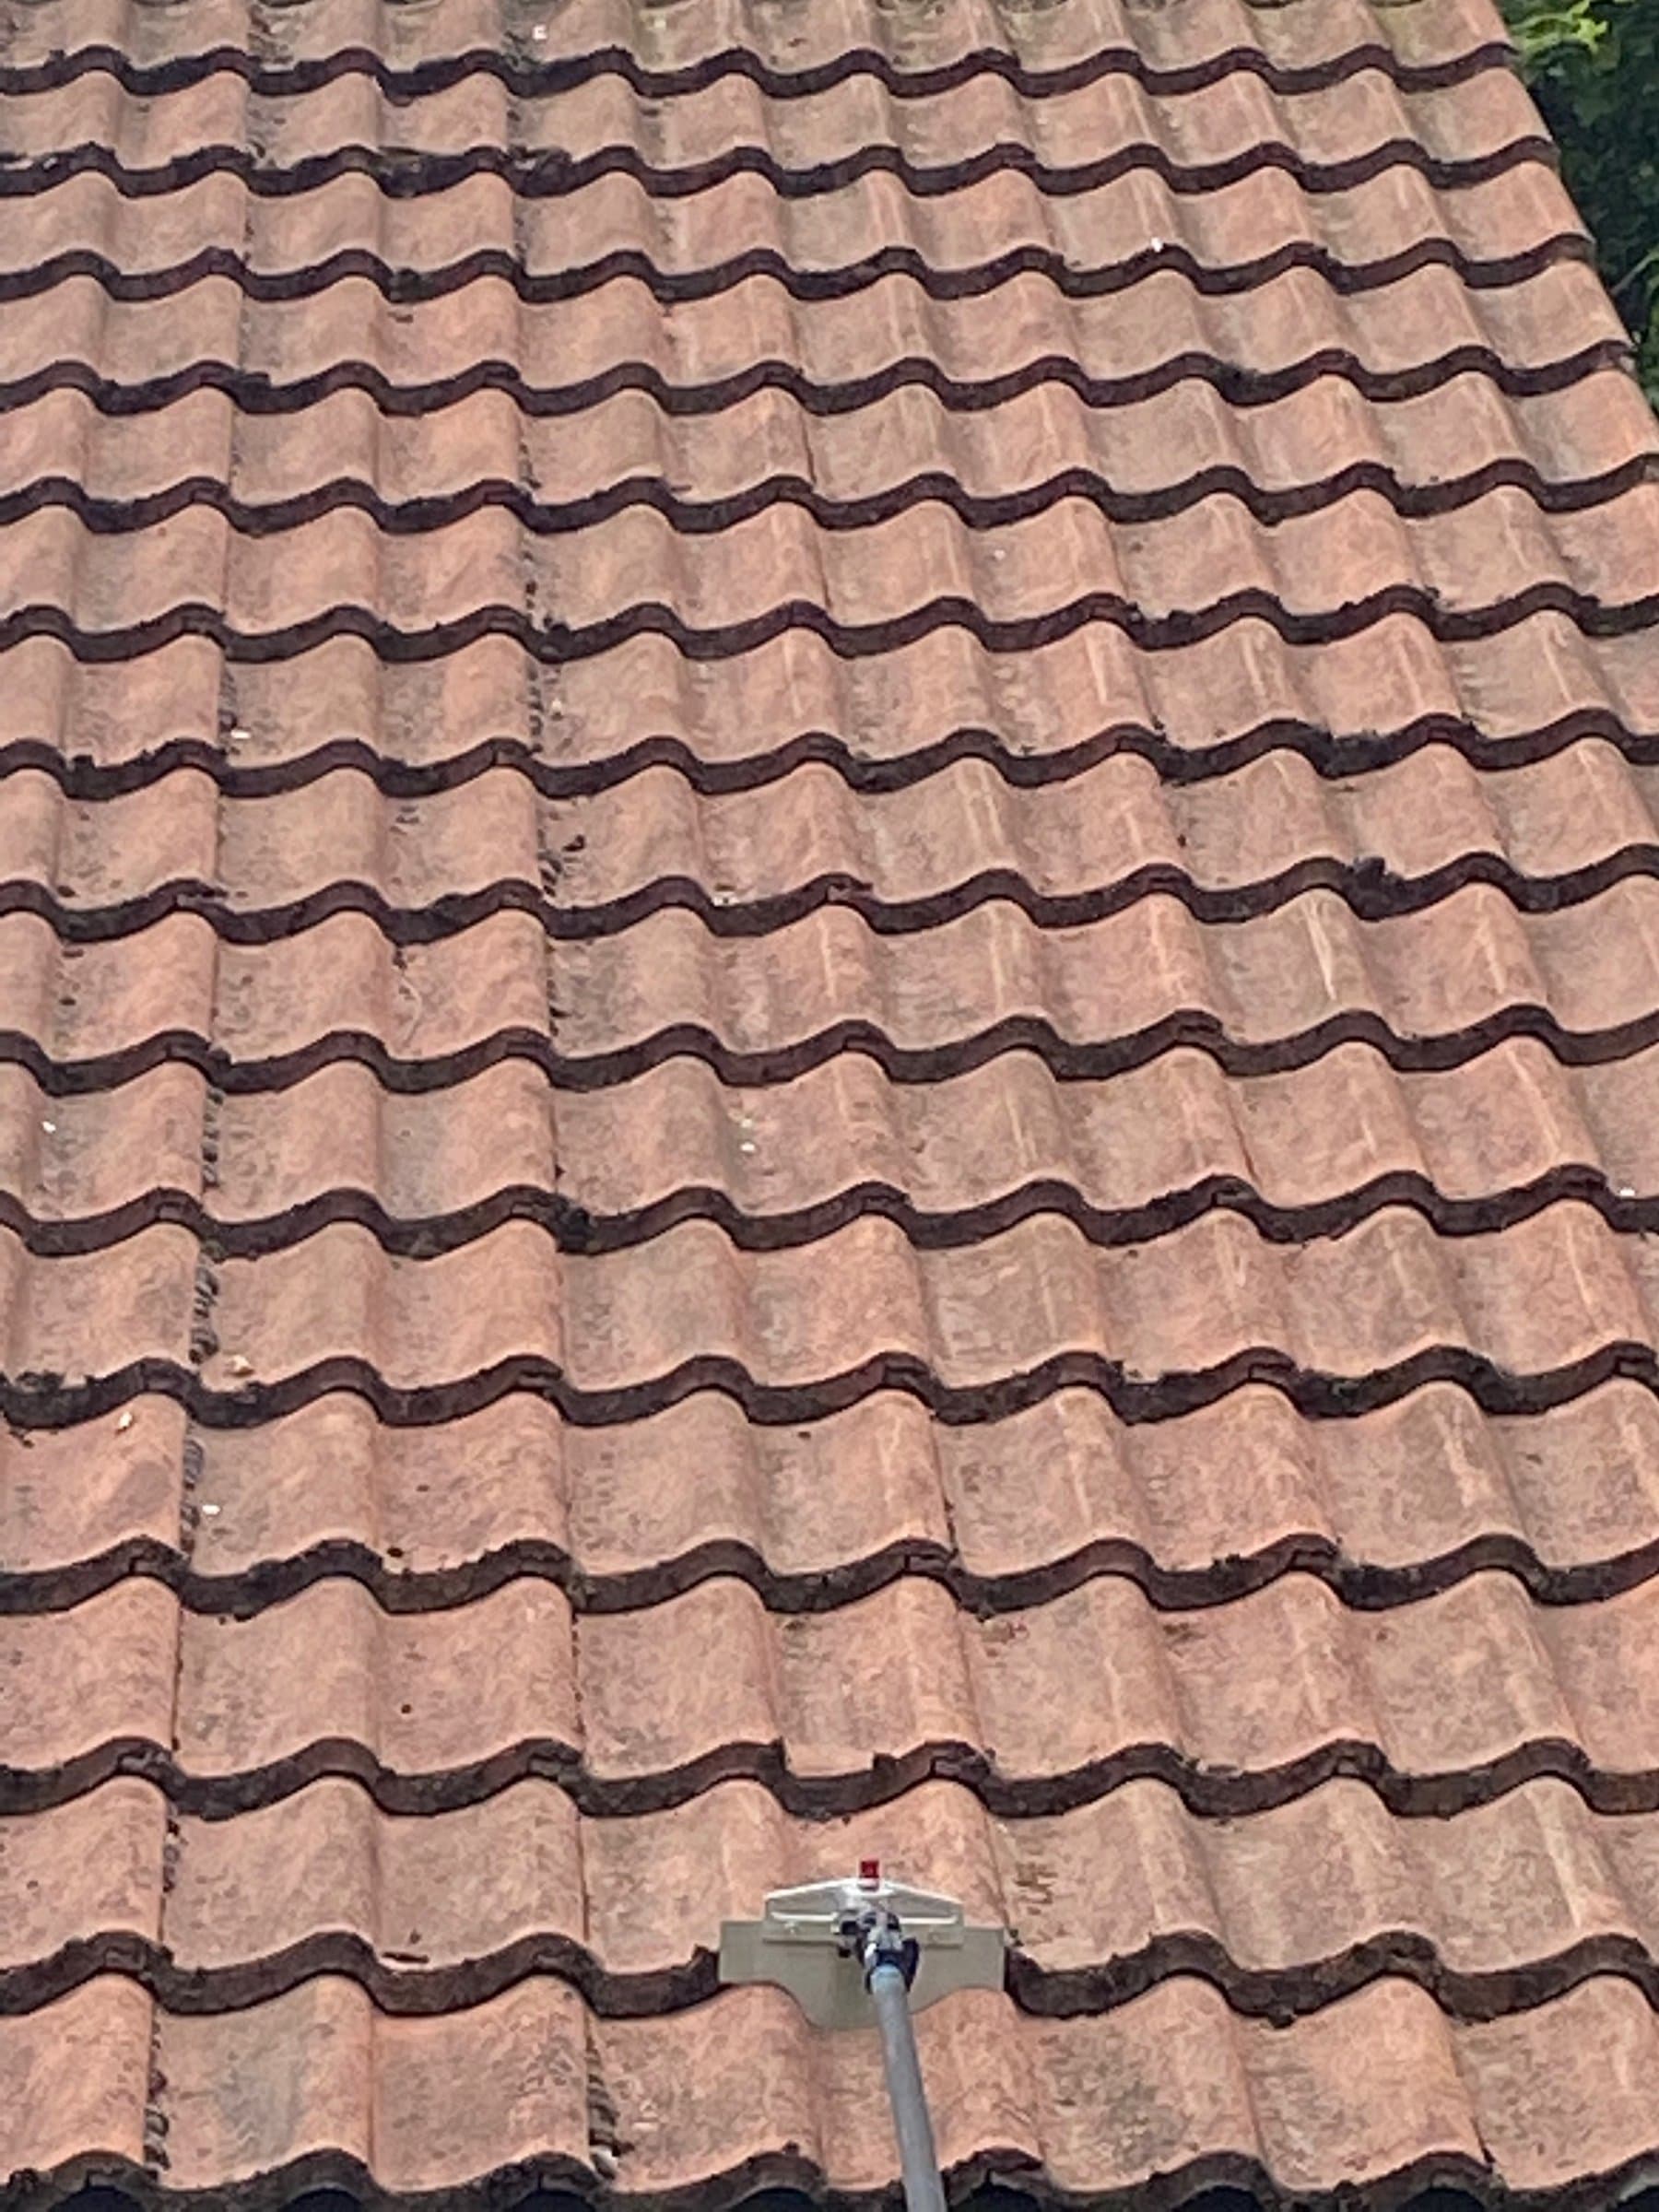 After
AfterWhy the treatment matters as much as the scrape
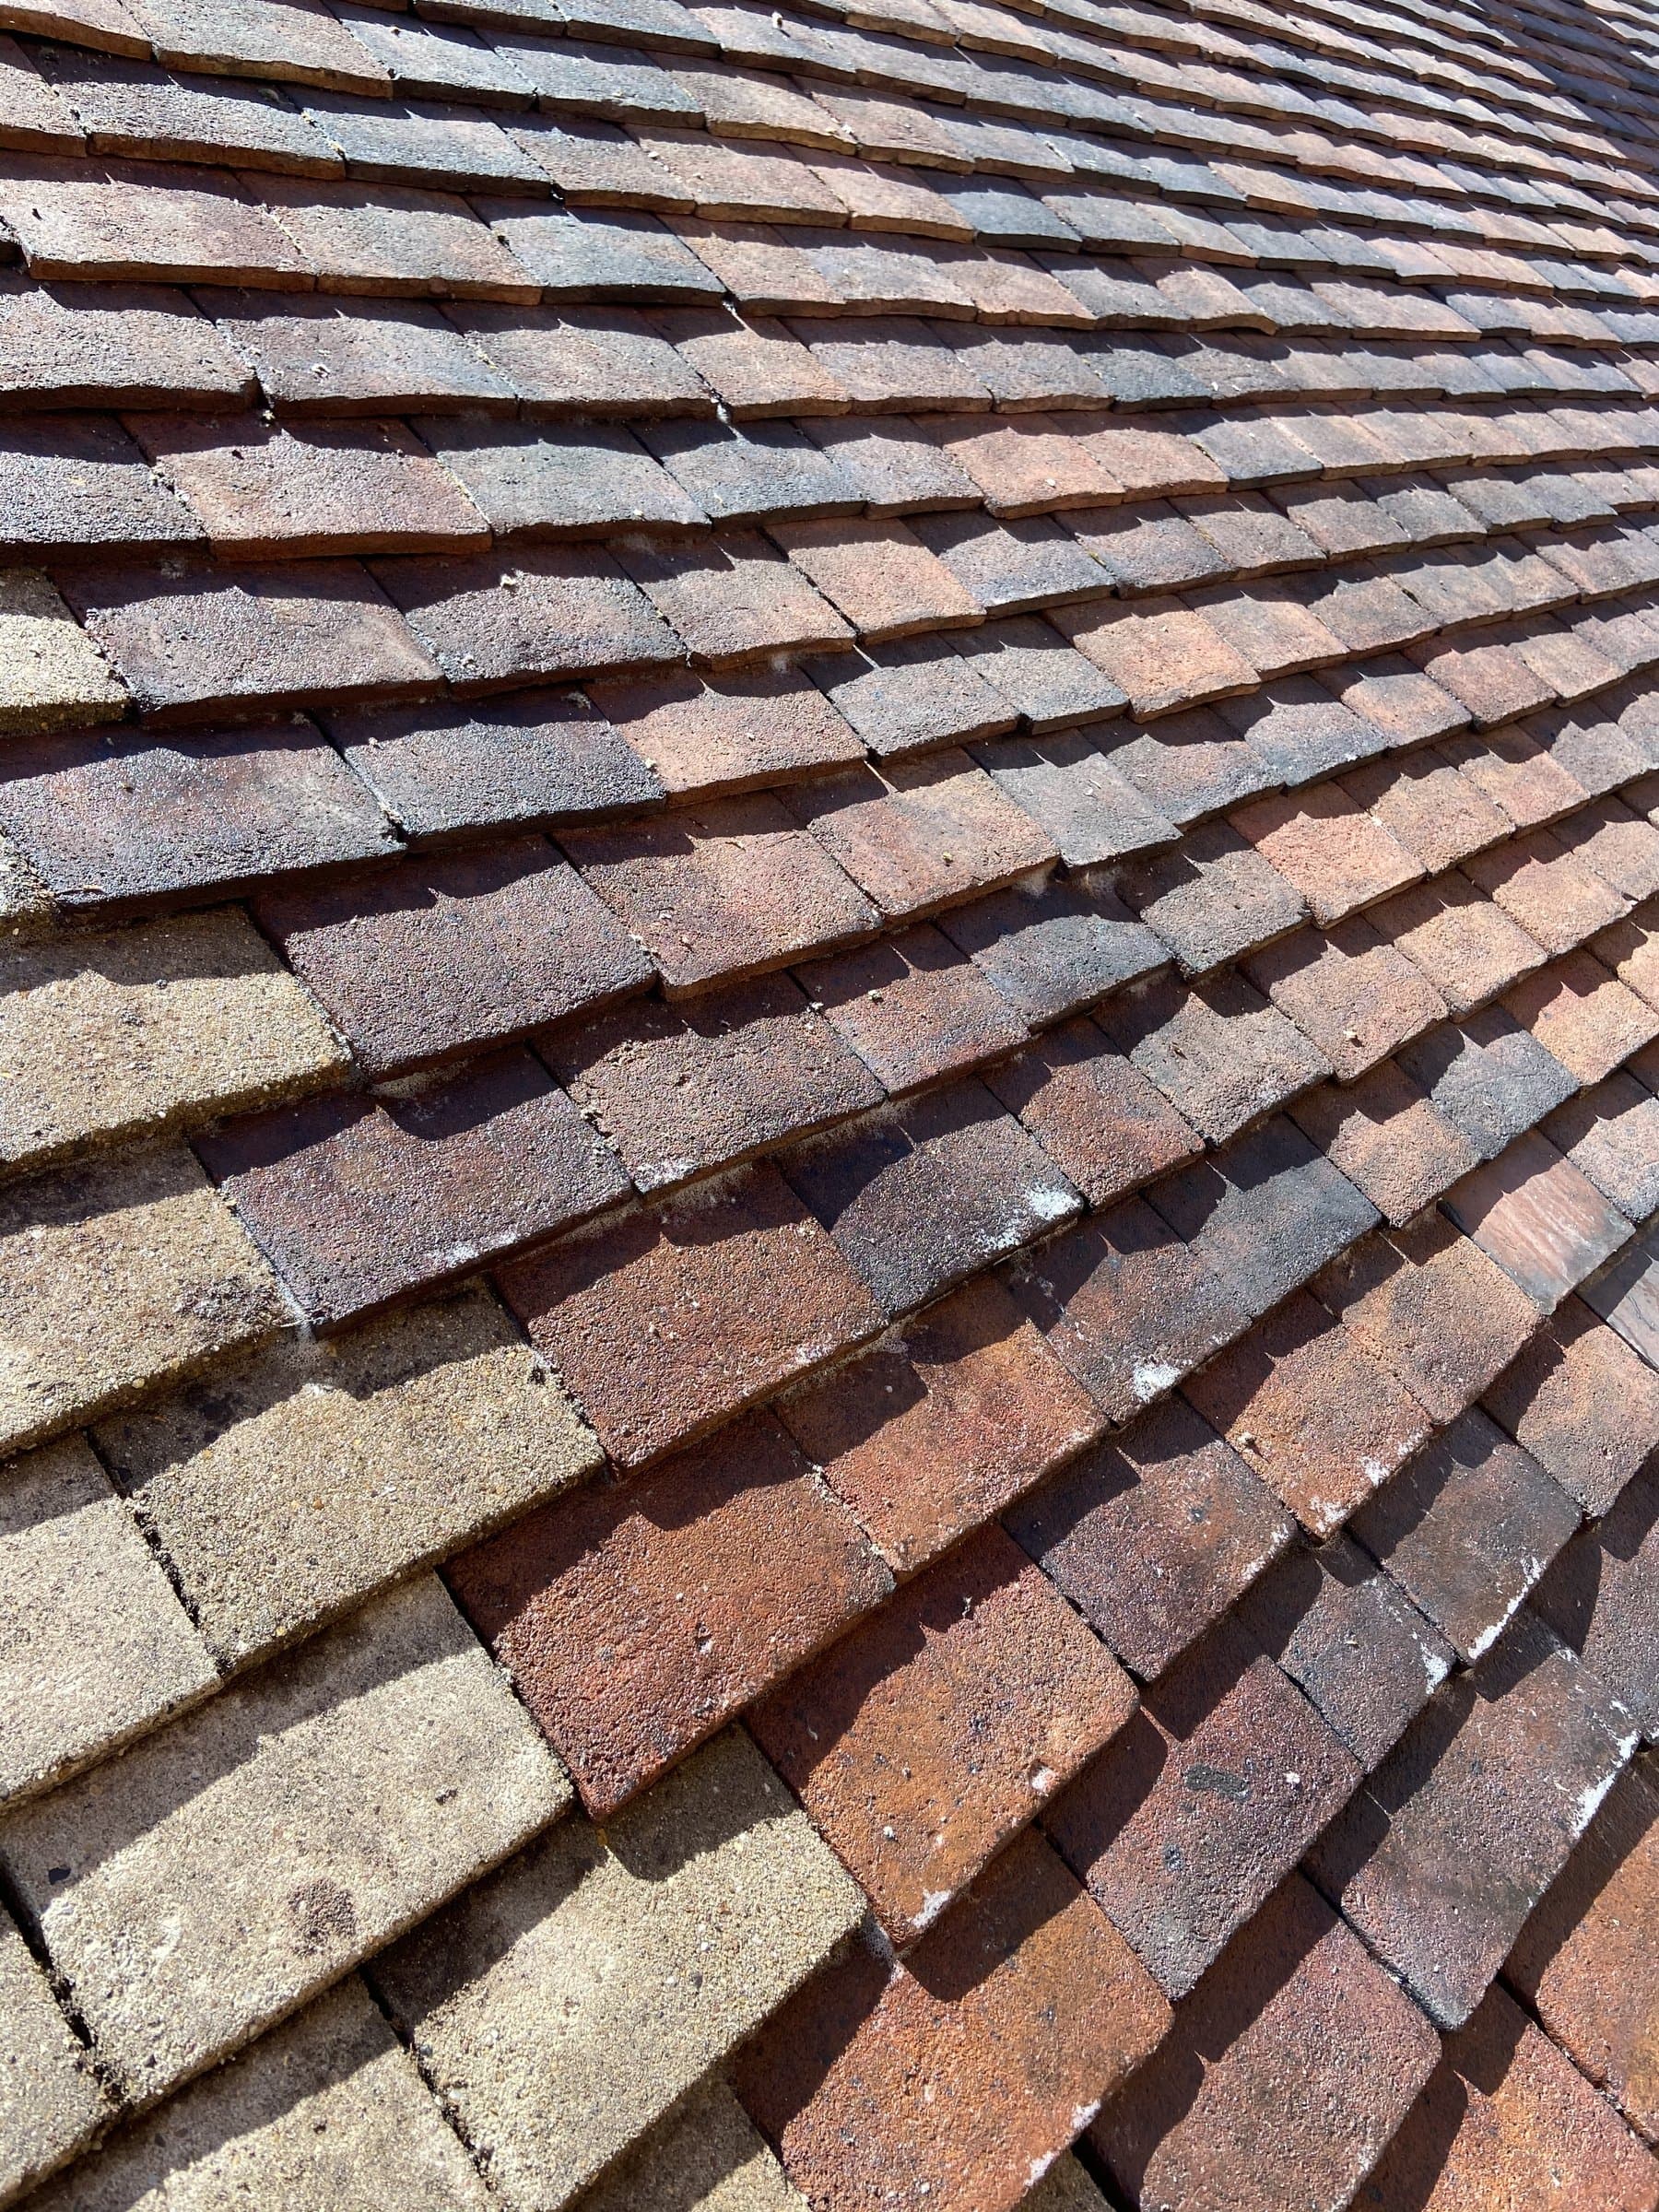
Scraping deals with the moss you can see. The treatment deals with the moss you can't, the spores already seeded across the surface.
Skip it and the roof greens back over far sooner, because the regrowth starts the day the job finishes. The two halves are one job.
What you can safely do yourself
Honestly? Not much on the roof itself, and we'd rather say that than pretend otherwise. A roof is not a DIY surface: the fall risk is real, walking on tiles cracks them, and a hired pressure washer strips the granular surface off concrete tiles along with the moss. What you can do is useful groundwork:
Check from the ground
Binoculars or a phone zoom from the garden. Moss favours the shaded side of the roof, usually north-facing. If you can see green cushions forming rows along the tile edges, it's established.
Look in your gutters
Lumps of moss in the gutter or at the bottom of downpipes means the roof is already shedding it. That's the roof telling you it needs attention.
Keep an eye after storms
Moss debris on the drive or lawn after wind and rain is the same signal. The heavier the shedding, the further along it is.
When to stop
At the gutter line. Anything that involves leaving the ground, ladders, roof edges, and especially the roof itself, is where the honest answer is to hand it over. That's not a sales line; it's the difference between a clean roof and an A&E visit.
If you think your roof is due, send us a photo from the ground on WhatsApp, we'll tell you straight whether it needs doing, and how we'd approach it. A free test patch is available if you want to see the result on a small section first.