There's a right order to cleaning the outside of a house, and it's not complicated: top down. Wash the walls before clearing the gutters and the next downpour streaks dirty overflow straight down your clean render. Jet the drive before the roofline is done and everything above drains onto it again. The order is the whole logic of a full exterior clean, and it's why one planned visit beats four separate jobs booked weeks apart.
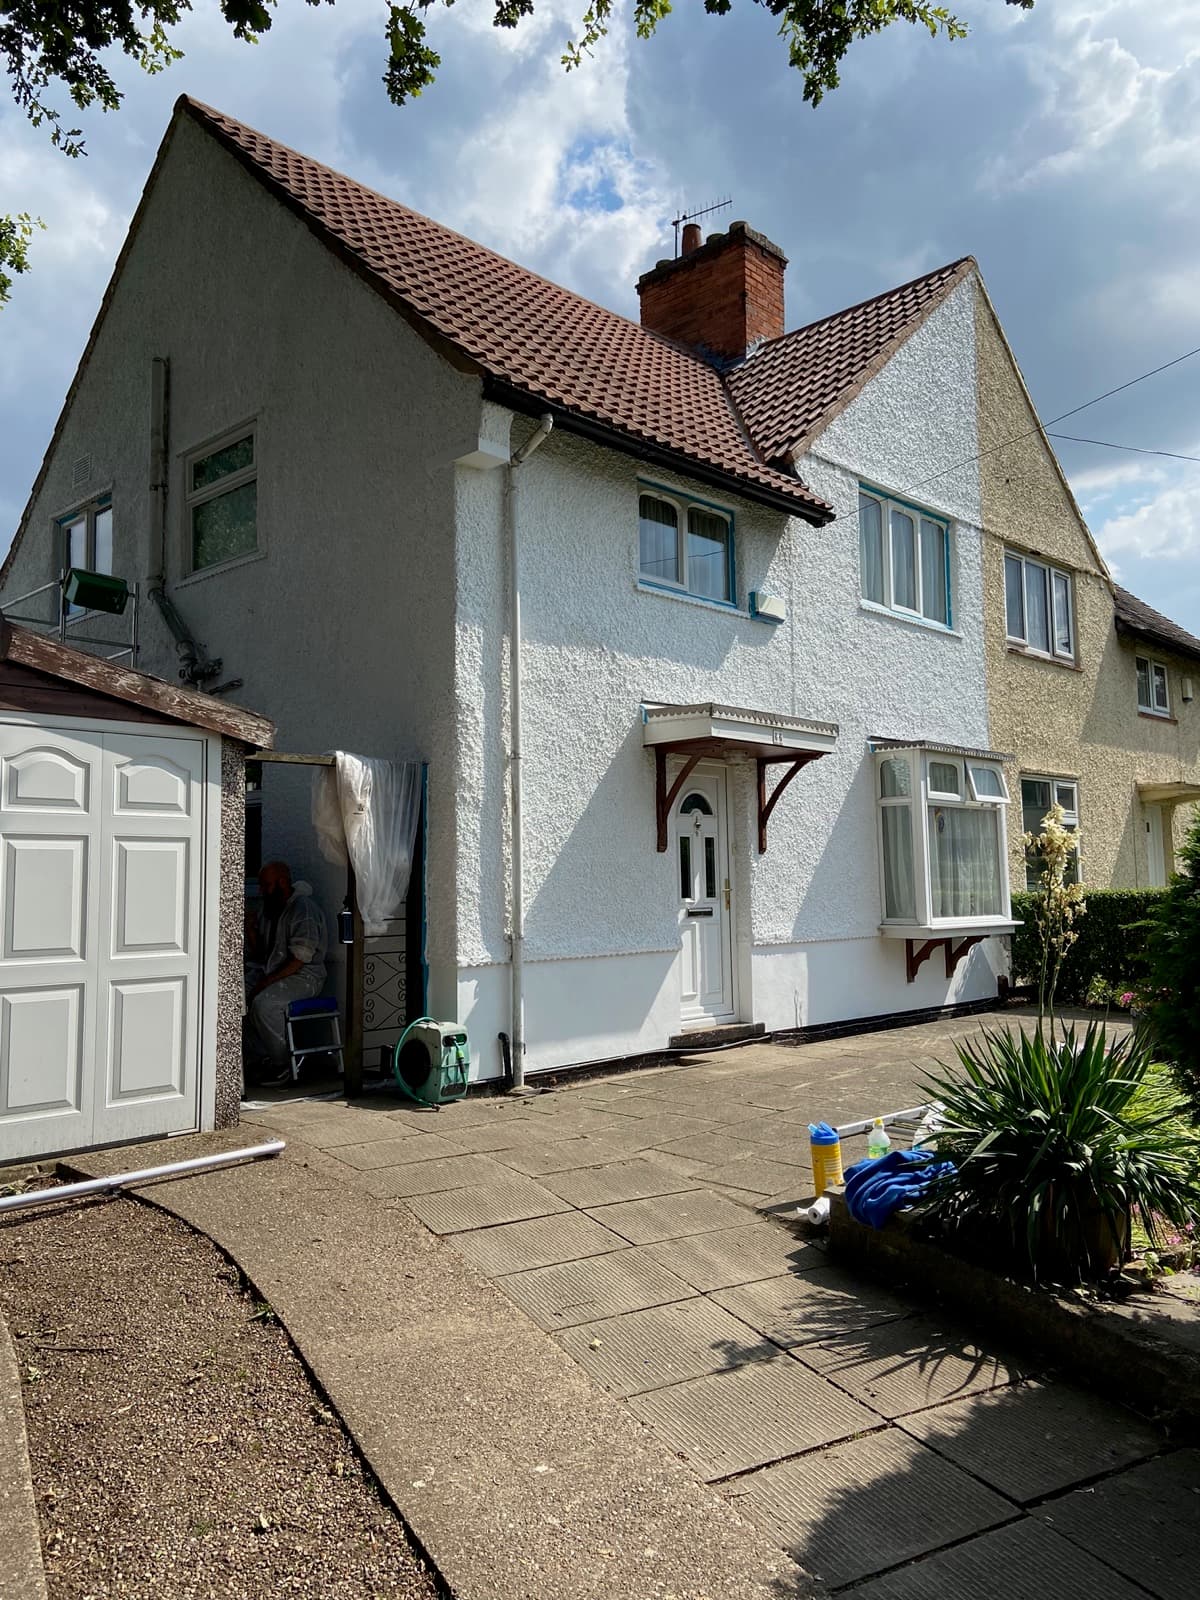
The right order, and why
Survey before anything gets wet
What each surface is, render type, tile type, block paving or concrete, plus any damage that cleaning could make worse: cracked render, slipped tiles, failed pointing. Faults get flagged to you before work starts, because some of them are repairs, not cleaning jobs.
Protect first
Plants under the work get pre-wetted or covered, cleaning-solution runoff scorches them otherwise, and outdoor sockets and lights get shielded. The setup phase is the visible marker of a careful job.
Roof first, and never with a jet wash
If roof moss is in scope it comes off carefully by hand, then the roof gets a biocide treatment that kills the growth at the root. Never a pressure washer: the tile manufacturers and the roofing trade body both say in writing that high-pressure washing damages the tile surface and shortens the roof's life.
Gutters next
Everything scraped off the roof lands in the gutters anyway, so they're cleared after the roof and before the walls, blocked downpipes unblocked as part of the job, and conservatory box gutters given special attention as a leading cause of water getting inside.
Roofline and walls, soft methods only
Fascias, soffits and gutter faces get warm soapy water or a low-pressure softwash, high pressure blows gutter joints and forces water behind the boards. Render is the same story: a biocide soft wash, left to dwell, gently rinsed. Pressure-washing render etches it and drives moisture behind the coating, and the regrowth comes back faster on the roughened surface.
Windows near the end
All the exterior glass, frames and sills cleaned with pure water on the fed pole, after everything above them is done, so nothing dirty runs down over finished glass.
Ground level last
The driveway, patio and paths take everything that drained from above, so they're cleaned last, pressure-washed properly, because concrete and stone can take it. Block paving gets re-sanded with kiln-dried sand once dry, and a residual treatment is what keeps the growth from coming straight back.
The pressure-washer rule that saves houses
The single most useful thing to take from this guide: a pressure washer is a ground-surfaces tool. Concrete, block paving, stone flags, yes. Roof tiles, never, and that's the manufacturer's written position, not ours. Render, never, it's a soft-wash surface. uPVC rooflines, never at high pressure. Conservatory roofs, never, it blows the double-glazing seals. And never take a pressure washer up a ladder: the recoil plus a trailing hose makes it one of the most dangerous DIY combinations there is. When a doorstep trader offers to "jet wash the roof while we're here" that's your cue to close the door.
What you can safely do yourself
Inspect from the ground with binoculars
Moss build-up in the roof valleys and behind chimneys, slipped or cracked tiles, gutters overflowing in rain. The roofing trade body's own advice is that homeowner roof checks should be visual and from ground level, you never need to go up to look.
Wash what's in reach
Ground-floor frames, sills, doors and reachable fascia clean up fine with warm soapy water and a soft cloth. A stiff broom keeps the drive presentable between proper cleans.
Treat the paving
A shop-bought outdoor moss-and-algae treatment applied with a pump sprayer, following the label exactly and keeping it off the plants, is legitimate ground-level DIY. If you jet the block paving yourself, brush kiln-dried sand back into the joints once completely dry.
When to stop
The same line as always: the ground. Roof moss, render growth, upper-storey windows, anything needing a ladder and a stretch, that's where the risk stops being worth it and the professional kit earns its keep. And if a clean reveals a slipped tile, failed pointing or a gutter pulling away, that's a repair, not a clean, an honest cleaner points it out rather than washing over it.
Why one visit beats four
A full exterior clean isn't just tidier, it's usually cheaper than booking each job separately, because the setup, access and travel are shared across everything. One visit, the whole property brought up together, in the right order, with nothing re-staining what was just cleaned. On a typical three or four-bed home it takes most of a working day. Most of our customers then run a full clean every year or two with regular windows or an annual gutter clear in between, and every package is built around what your property actually needs, not a fixed menu.
Thinking about it before selling? Estate agents' standing advice to sellers is that kerb appeal decides whether buyers even come inside. Send us a few photos on WhatsApp and we'll build you an honest package, or get a free quote here.